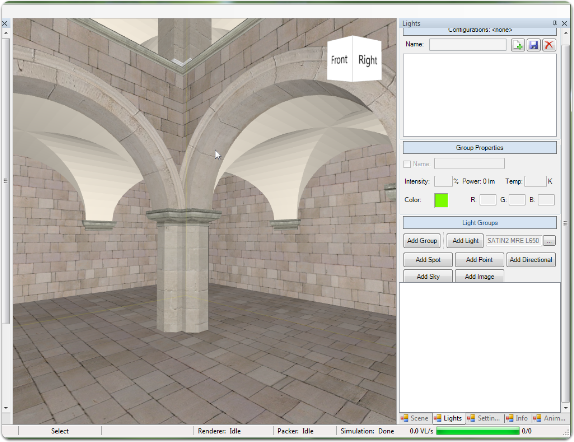
Move to the insertationpoint and rotate the view
Hilite is all the time in 3D view. We want you to feel on site and place luminaries intuitively as you see the situation „live“.
For this reason you should rotate the view to see where to place a luminaire.
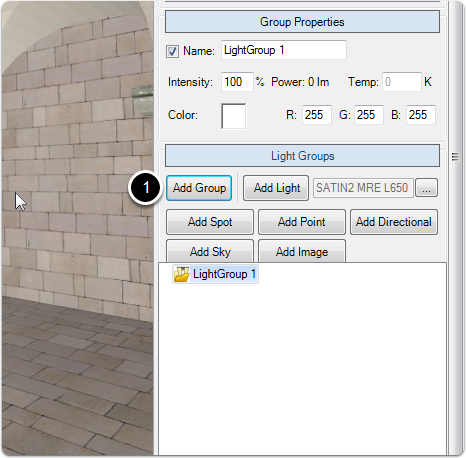
Add a lightgroup
Hilite is using Groups to organize all placed luminaries. They are like control groups in real life.
You can easily add a group with the „Add Group“ button. If you later want to place a luminaire in a group, just select the group.
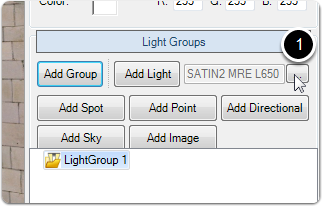
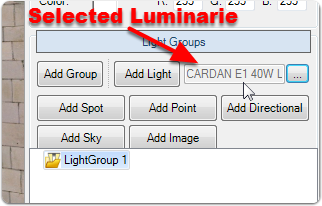
Select the luminarie by opening the light source browser
Hilite is using a „select and place multiple“ approach for adding luminaries to your project:
- select luminaire from the library
- whenever you now add a luminaire, this selected luminaire will be added.
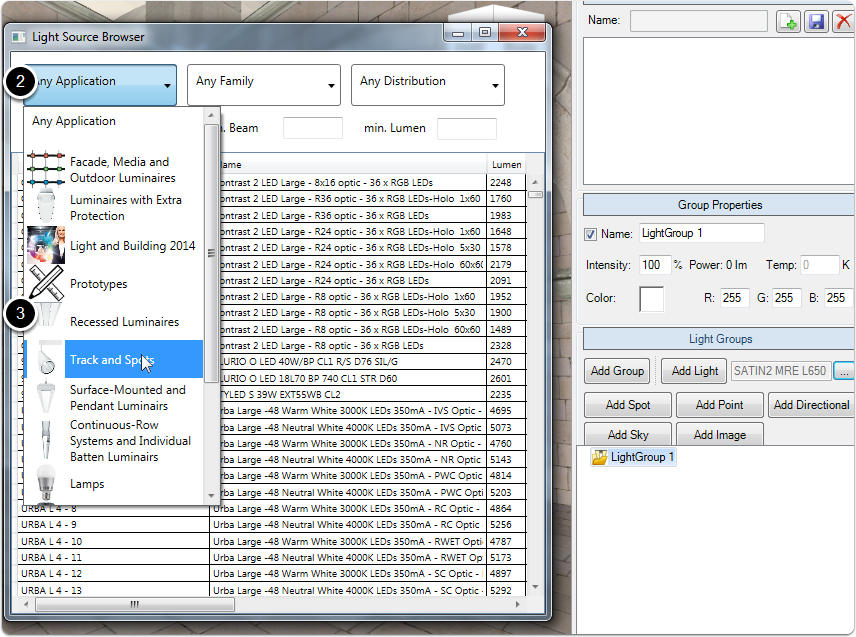
Hilite is offering a filter based selection browser:
Select the mounting type / application
Whenever you open the light browser you can use the three different filters or use the search input fields.
The first filter is called „Applications“ and is something like different mounting types.
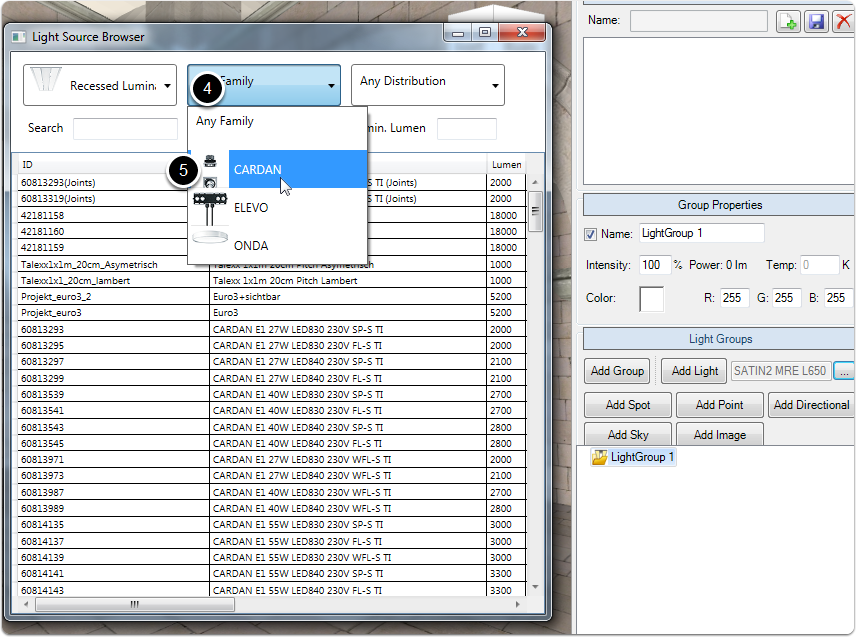
Select the luminaire family
The 2nd (optional) Step is now to select a special Luminairefamily.
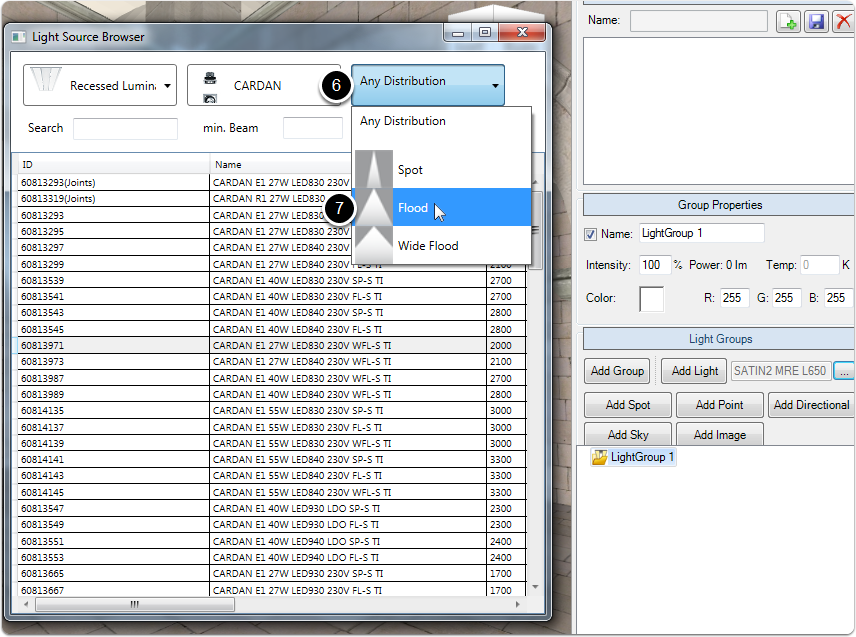
Select the light distribution
The last step is to filter the different lightdistributions.
Select the luminarie
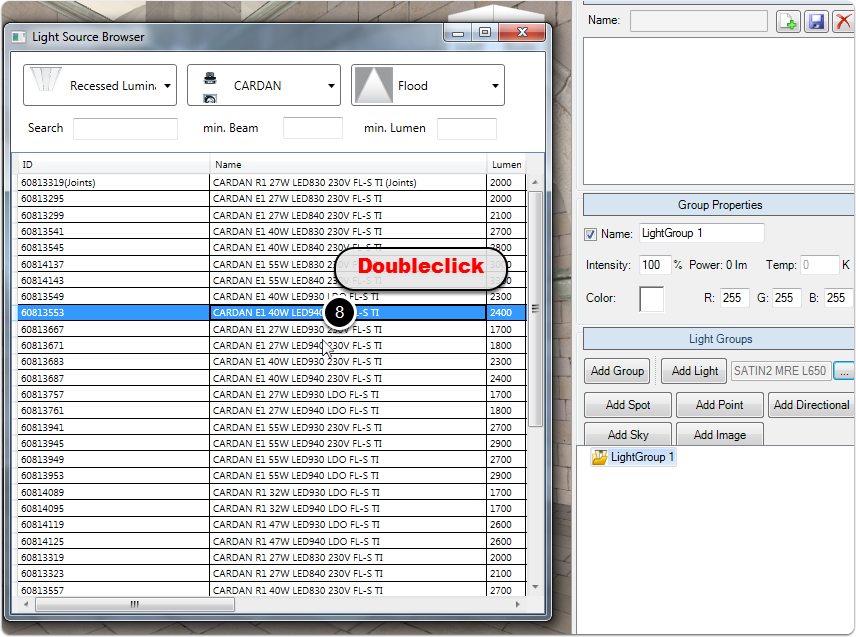
control if everything is fine
You always can control which luminaire is selected for adding to scene.
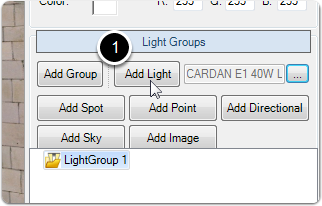
Add a luminaire to your project
Adding a luminaire to your project is a strongly visual task.
First you have to trigger the process by clicking on the „add light“ button or use the insert key on your keyboard.
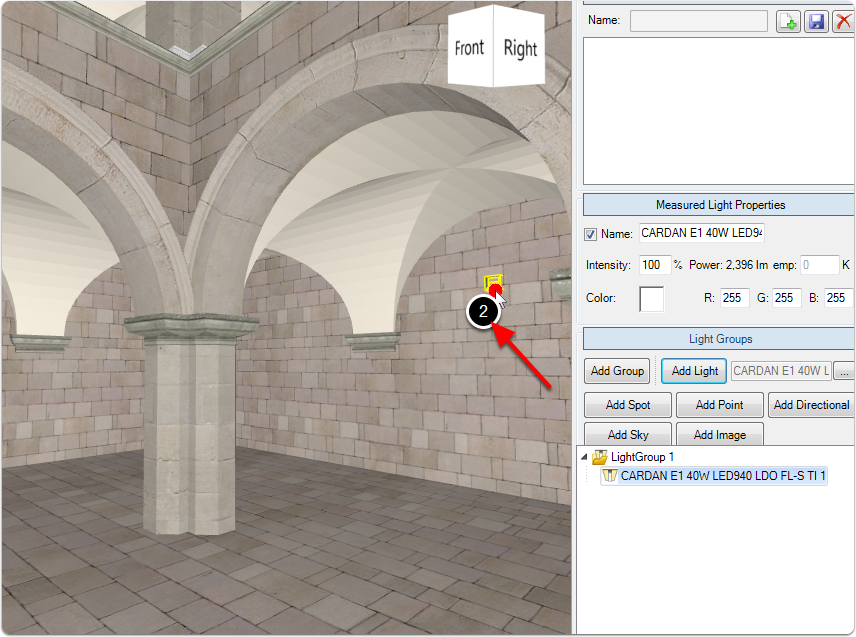
Then you move your mouse cursor into the viewport.
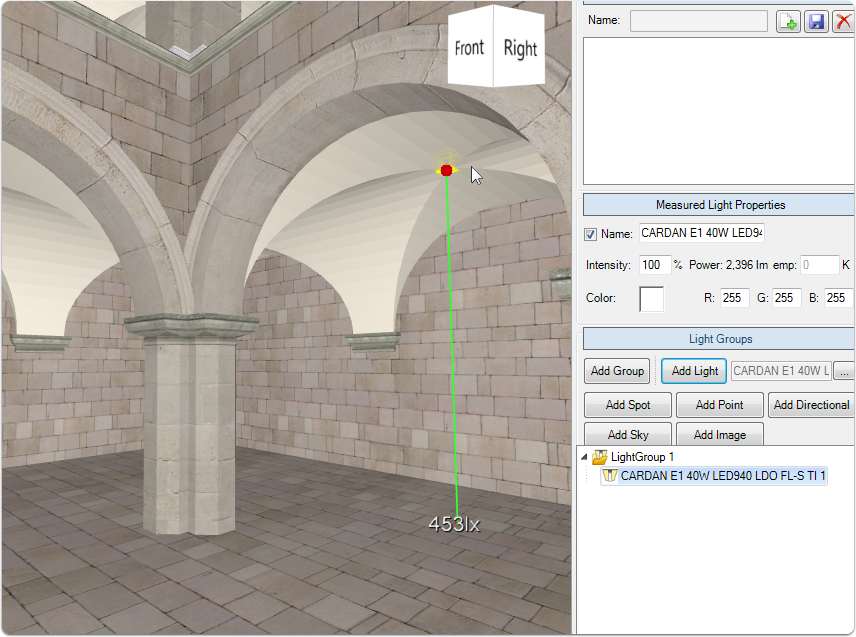
Place the luminaire
after you have clicked „all Light“ and when your cursor is in the viewport, you should see the new luminaire following your cursor.
The light will follow the visible surfaces in your viewport.
Finish placing
Another click with the mouse will fix the position of the luminaire.